Dryer Vent Maintenance and Warning Signs Every Homeowner Should Know
Written by
Editorial Team
Research and editorial staff
Dates
Published
Last updated
What changed: Expanded the source-backed dryer vent guide with route, symptom, cleaning, and documentation details.
Checked by our editors.How we estimate repair costsEditorial policy
Sources
- Overheated Clothes Dryers Can Cause Fires — U.S. Consumer Product Safety Commission
- Clothes Dryer Safety Tip Sheet — National Fire Protection Association
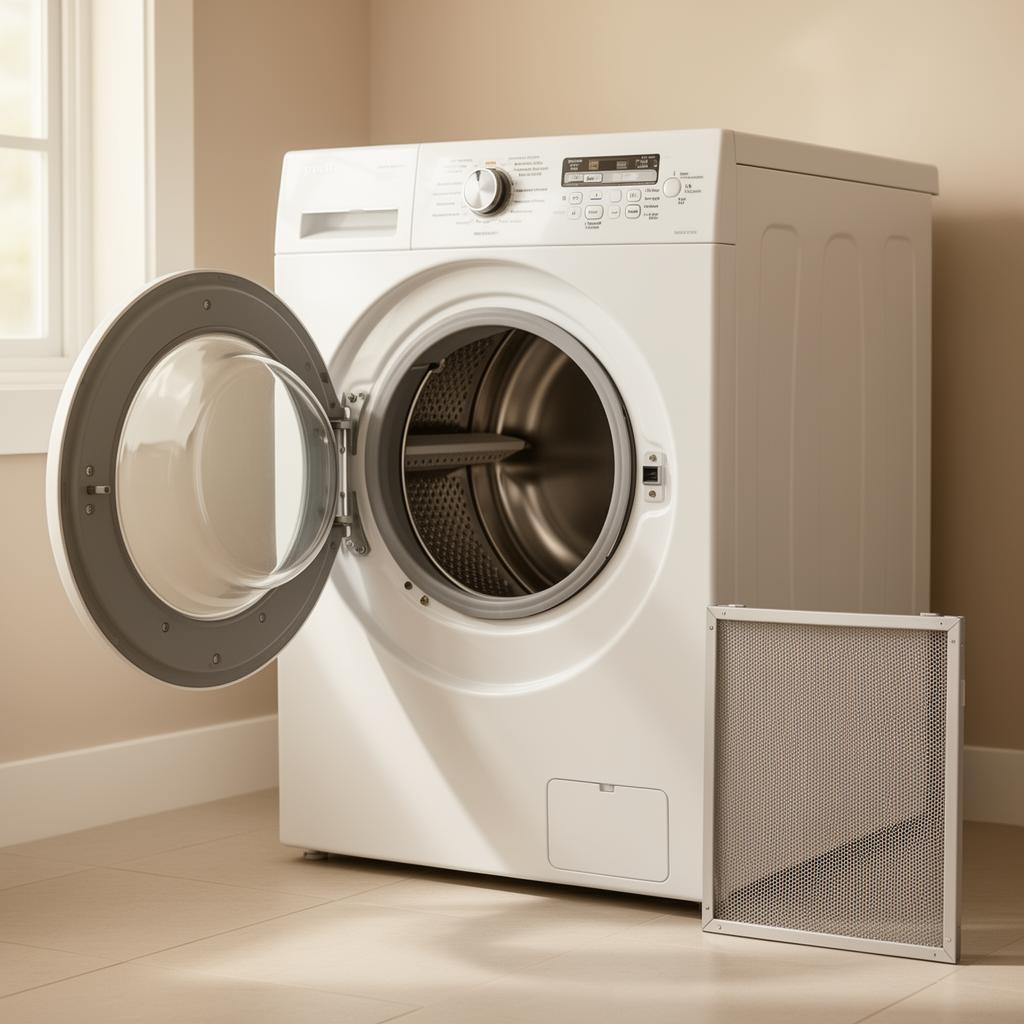
Dryer vent maintenance is a safety task, not just housekeeping. Heated air must pass through the lint screen, exhaust duct, and outdoor termination. Lint, crushing, poor connections, or an unsuitable route can restrict airflow, keep heat and moisture trapped, and lengthen drying time. The U.S. Consumer Product Safety Commission warns that lint blockage can cause excessive heat buildup and fire in some dryers.
Maintenance checklist
| Task | Planning frequency | Purpose |
|---|---|---|
| Clean the lint screen | Before or after every load | Removes combustible lint and supports airflow |
| Check the screen for damage | Monthly | Limits lint entering the cabinet and duct |
| Inspect visible rear duct | Monthly and after moving | Finds crushing, kinks, or disconnection |
| Check the exterior flap | Every few months | Confirms exhaust can leave the home |
| Clean the full vent | Based on use, route, and symptoms | Removes hidden accumulation |
| Clean behind the dryer | Every few months | Reduces lint and combustible clutter |
Clean the lint screen every load
Remove lint before or after every load. If airflow weakens despite a clean-looking screen, follow the manual for washing residue from it with warm water and a soft brush, then dry it fully. Replace a torn, warped, or poor-fitting screen. Never operate without the required lint screen.
Inspect the housing with the dryer off and cool. Remove only accessible lint with a vacuum attachment when the manual permits it. Do not push lint deeper with a screwdriver, coat hanger, or improvised brush, and do not open the cabinet as routine owner maintenance.
Recognize restricted-airflow warnings
Warning signs include:
- Clothes taking longer to dry
- An unusually hot dryer cabinet
- A hot or humid laundry room
- An exterior flap that barely opens
- Lint around the door, machine, or outside vent
- Repeated overheating shutdowns or errors
- A crushed, kinked, loose, or unsuitable duct
- A scorched or burning odor
One symptom does not identify one failed part. Long drying can also involve load size, cycle selection, moisture sensing, heating, gas supply, or appliance controls. Even so, airflow should be checked early because restriction increases operating time and heat exposure.
Smoke, sparks, fire, burning odor, or dangerous heat are immediate stop-use conditions. Turn the dryer off, disconnect it only if safe, leave if smoke or fire is present, and contact emergency services when appropriate. Do not restart the dryer to test it.
Inspect the visible vent path
With the dryer off and cool, inspect behind it without straining the power cord, gas line, or duct. CPSC guidance advises replacing plastic or foil accordion-style ducting with appropriate rigid or corrugated semi-rigid metal material. Local code and manufacturer installation instructions determine the permitted material and route.
A short route with gentle bends generally supports airflow, but do not reroute a duct casually. An incorrectly sealed or terminated vent can send lint and moisture into a room, wall, attic, or crawl space. Gas dryers must exhaust outdoors. Gas-line work and concealed ducts need qualified service.
Look for sections flattened by the dryer, storage, or a recent move. Verify visible joints remain connected and oriented correctly. Do not rely on household tape or an unapproved fastener; screws protruding into some duct interiors can catch lint. Use the fastening and sealing method required by the installation instructions and code.
Inspect the outdoor termination
Observe the outdoor termination while the dryer runs only when doing so is safe. The flap should open and exhaust should be evident. Compare performance over time rather than treating hand temperature or airflow as a precise measurement. Wind, weather, cycle phase, and dryer design can affect what you feel.
Turn the dryer off before removing lint from the cover. Do not insert improvised tools deep into the duct or add a fine screen that can clog unless the installation requirements permit it. Check that plants, snow, debris, or pest damage are not obstructing the termination. A roof or high-wall outlet may require professional access rather than a ladder improvised for the task.
Clean behind the dryer safely
Unplug an electric dryer before moving it when the manual directs. Do not move a gas dryer far enough to stress or disconnect its gas line. Vacuum accessible lint from the floor, wall, and exterior of the machine. Keep boxes, clothing, cleaners, and other combustibles away.
Do not open the appliance cabinet or handle gas and electrical components without training. A vent professional or appliance technician can inspect the complete route and connection with suitable tools. If moving the machine exposes a damaged cord, loose receptacle, gas odor, or disconnected duct, stop and arrange the appropriate service before operating it again.
Choose an interval from risk and evidence
No single cleaning interval fits every home. Daily use, pets, long duct runs, several bends, and difficult outdoor terminations can shorten the interval. A lightly used dryer with a short, compliant route may need less frequent full service. Many households use an annual review as a baseline, but symptoms should trigger earlier action and lint-screen cleaning remains an every-load task.
A complete cleaning should address the route from the dryer connection to the outdoor termination, not merely the first accessible section. Ask a provider what was inspected, how the route was accessed, whether damage or disconnection was found, and how normal termination operation was confirmed. Keep before-and-after notes without treating a clean duct as proof that every dryer component is safe.
Use the dryer in ways that support airflow
Sort loads so heavy and lightweight items are not always combined in a way that defeats automatic sensing. Avoid packing the drum so tightly that clothing cannot tumble. Use the cycle and load limits in the manual. If one bulky item repeatedly balls up or remains wet, rearrange it as directed rather than extending heat indefinitely.
Dry only items whose care labels permit machine drying. Clothing exposed to gasoline, oils, solvents, cleaning agents, or finishing oils may remain hazardous after washing; follow product and fire-safety guidance. Do not leave a dryer operating when no responsible adult is available.
Record changes before service
Record the duct material and approximate route, exterior-flap result, cycle and load, drying-time changes, last full cleaning, provider, and any heat or odor symptoms. Photograph visible crushing or lint accumulation only when it is safe. Note whether a symptom occurs on every cycle or only with one load type.
This information helps distinguish a vent concern from a heating, sensor, or installation problem. Persistent long drying can require appliance diagnosis; see the dryer not heating repair cost guide.
Related guides
Safety note: Follow the model manual and local code. Stop for smoke, fire, sparks, gas concerns, burning odor, damaged wiring, or dangerous overheating. Use qualified help for gas lines, internal electrical work, and concealed vent routes.
Frequently asked questions
Related guides
Dishwasher Maintenance Checklist for Cleaner, Longer-Lasting Appliances
Use this dishwasher maintenance checklist for filters, spray arms, seals, drainage, racks, cleaning cycles, warning signs, and model-specific care.

Oven and Range Maintenance Checklist: Cleaning and Safety Tips
Follow an oven and range maintenance checklist for burners, elements, spills, door seals, self-clean cycles, temperature, ventilation, and safety warnings.

Refrigerator Maintenance Checklist: Monthly and Annual Tasks
Follow a practical refrigerator maintenance checklist for coils, seals, temperature, filters, airflow, leaks, cleaning, and early warning signs.
Disclaimer: Pricing reflects US national averages as of the publication date and varies by region, brand, and labor rates. This article is informational and does not replace professional inspection or repair advice. See our full disclaimer.