Washing Machine Maintenance Checklist: Monthly Care Guide
Written by
Editorial Team
Research and editorial staff
Dates
Published
Last updated
What changed: Published a model-aware washer care schedule with leak, electrical, load, detergent, and safety guidance.
Checked by our editors.How we estimate repair costsEditorial policy
Sources
- Clothes Washers — ENERGY STAR
- Laundry — U.S. Department of Energy
- Washing Machine Safety — U.S. Consumer Product Safety Commission
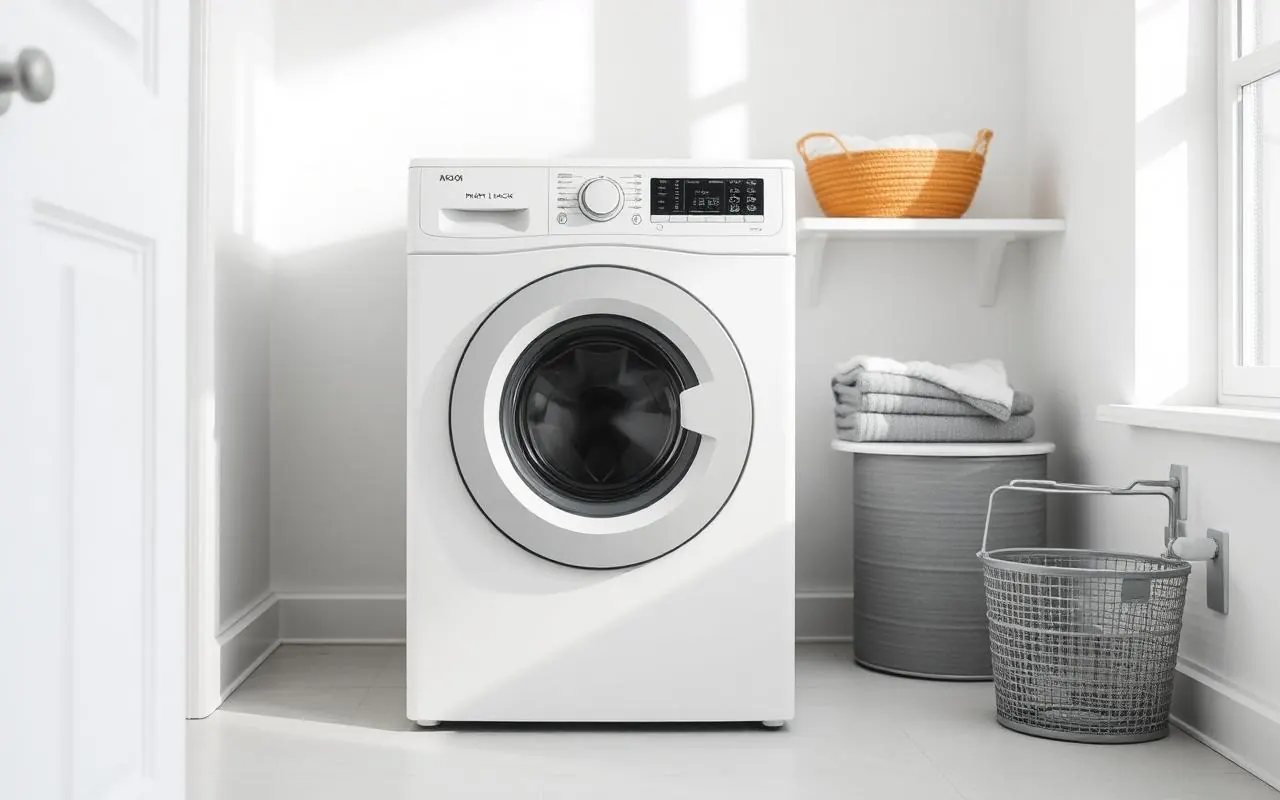
A washing machine combines water, electricity, detergent, heat, vibration, and substantial moving weight. Good maintenance therefore has two goals: reduce avoidable residue and mechanical strain, and identify leaks or unsafe behavior before another cycle makes the problem worse.
The correct procedure depends on the exact model. Front-load and top-load machines use different door systems, dispensers, filters, pumps, suspension designs, and cleaning programs. High-efficiency machines also depend on compatible detergent and appropriate dosing. Treat this checklist as a planning guide, then follow the owner manual for access, products, intervals, and shutdown steps.
Quick washer maintenance schedule
After each load
- Remove clothing promptly so damp items do not remain in the drum.
- Check that small items have not become trapped around an accessible door seal.
- Wipe visible moisture or detergent residue where the manual permits.
- Leave the door, lid, or dispenser in the manufacturer-recommended position for drying.
- Notice any new leak, scraping sound, odor, or change in spin behavior.
Every month
- Inspect visible supply hoses and fittings without disturbing pressurized connections.
- Clean accessible dispenser components according to the manual.
- Wipe the front-load door glass and gasket using approved products.
- Run the specified washer-cleaning cycle if it is due.
- Check that the machine remains stable and does not rock at the corners.
- Review the detergent type and dose being used by the household.
Every three to six months
- Check the drain hose for visible kinks, crushing, abrasion, or insecure placement.
- Inspect the floor and wall behind accessible areas for moisture or staining.
- Clean an owner-accessible pump filter only when the manual provides a procedure.
- Review recurring unbalanced-load messages, slow draining, or unusual cycle times.
- Confirm that storage items are not blocking ventilation or pressing against hoses.
At least annually
- Review hose condition, installation clearances, leveling, and repair history.
- Test accessible water shutoff valves only if it can be done safely and without forcing them.
- Confirm that the outlet, plug, and cord show no visible heat or physical damage.
- Record any increase in noise, movement, leakage, or cycle duration.
Use the correct detergent and dose
More detergent does not necessarily produce cleaner laundry. Excess product can leave residue in clothing, dispensers, seals, and internal passages. It may also create excessive suds that interfere with sensing, rinsing, draining, or spinning.
Use detergent marked for the washer type and follow both the appliance and detergent instructions. The appropriate amount can depend on load size, soil, water hardness, and product concentration. Do not assume that the cap’s largest line is correct for every load.
If residue or odor is recurring, record the detergent name, concentration, amount, cycle, water temperature, and load size. Change one variable at a time rather than mixing cleaners or repeatedly adding more product. Never combine chlorine bleach with ammonia, acids, vinegar, or other incompatible chemicals.
Avoid chronic overloading
A washer needs room to move the load through water and detergent. A tightly packed drum can contribute to poor cleaning, incomplete rinsing, imbalance, long cycle times, and strain on suspension or drive components.
Follow the capacity and loading method in the manual. Capacity is not simply whether the door can close. Bulky bedding, absorbent towels, waterproof items, rugs, and a few heavy garments can distribute weight differently from ordinary clothing.
If the machine repeatedly stops for imbalance, do not keep restarting the same load without correcting it. Pause, follow the model instructions, redistribute or reduce the load, and check whether the machine is stable. Persistent imbalance with normal loads may indicate an installation or component problem that needs diagnosis.
Keep seals and dispensers clean
Front-load door gaskets can hold lint, hair, detergent, small objects, and moisture in their accessible folds. Inspect gently without pulling or using sharp tools. Remove objects and wipe surfaces only as the manual directs. A torn, displaced, or leaking gasket is a repair issue rather than a cleaning task.
Detergent and softener dispensers can also accumulate concentrated residue. Remove only parts identified as owner-removable, rinse or clean them with approved methods, dry them, and reinstall them correctly. Do not pour water into electrical openings or force a drawer that is obstructed.
For top-load models, clean the accessible rim, dispenser, lid contact area, and visible surfaces. Do not reach beneath an agitator or impeller unless the manufacturer specifically provides an owner procedure.
Run the approved cleaning cycle
Many washers provide a tub-clean, self-clean, clean-washer, or similarly named program. Use the cycle and cleaning product specified by the manufacturer. The recommended interval may depend on machine design, use, water conditions, and whether an indicator appears.
A cleaning cycle cannot fix every odor. Check for trapped items, dispenser buildup, a dirty accessible filter, poor drainage, excessive detergent, a standpipe problem, or moisture that remains enclosed between loads. Sewer-like odor may involve household plumbing rather than the washer itself.
If an odor appears with heat, smoke, or an electrical smell, stop using the machine. Do not treat a possible electrical or mechanical problem as routine cleaning.
Inspect supply hoses and connections
Washing-machine supply hoses remain under water pressure when the valves are open. A small leak can damage floors, walls, cabinets, or rooms below before it becomes obvious.
Look at visible hose surfaces and fittings for droplets, mineral deposits, rust, cracks, bulges, abrasion, kinks, or strain. Check after a cycle and again when the machine has been idle. Moisture may also come from a nearby sink, drain, condensation, or spilled detergent, so trace the source rather than assuming.
Do not tighten a pressurized fitting blindly. Shut off the appropriate water supply and follow the installation procedure. Replace damaged hoses with parts that meet the appliance and installation requirements. If valves are corroded, stuck, or leaking, arrange appropriate plumbing help.
Record the inspection date and hose details. A documented condition check is more useful than relying on memory or a universal replacement interval that may not match the manufacturer.
Check the drain path
The drain hose must be routed and secured as the installation instructions specify. A hose pushed too far into a standpipe, sealed incorrectly, kinked, crushed, or positioned at the wrong height can contribute to draining or siphoning problems.
Inspect only the visible route. Do not pull the washer forward alone or disconnect a hose without preparing for retained water. Keep the floor dry and stop if access creates a lifting, tipping, or electrical hazard.
Some models have an owner-accessible pump filter. Follow the manual exactly because opening it can release substantial water. Let hot water cool, disconnect power as directed, protect the floor, and keep children and pets away. If the filter is not described as owner accessible, leave internal pump work to a technician.
See the washing machine repair cost guide when slow draining persists after approved checks.
Confirm stable installation
A washer should sit on a suitable floor with all feet supporting it as specified. Shipping bolts must be removed from applicable front-load models during installation. Hoses, the power cord, cabinetry, and nearby appliances should not be struck during operation.
Do not compensate for severe movement by adding improvised blocks, holding the machine, or standing on it. Follow the documented leveling procedure and use assistance because washers are heavy. A floor that flexes or slopes may require installation correction beyond foot adjustment.
New vibration can result from one unusual load, but repeated movement with ordinary loads may point to leveling, flooring, shipping hardware, suspension, bearing, or drive concerns. Document the cycle and load before arranging diagnosis.
Protect the electrical connection
Use the outlet and grounding arrangement required by the manufacturer and local electrical rules. Avoid extension cords, damaged adapters, pinched cords, or outlets that feel loose. Keep liquids and wet hands away from the plug and controls.
Do not remove electrical panels or bypass a lid or door lock. A lock problem, repeated breaker trip, burning odor, visible arcing, or heat damage requires qualified service. Resetting protection repeatedly without finding the cause can increase risk.
If water is actively leaking near electrical parts, avoid standing in the water or touching the appliance. Disconnect power only from a safe location and contact appropriate help.
Recognize early warning signs
Record symptoms while they are intermittent. Useful details include:
- The cycle name and load type
- An error code exactly as displayed
- Where and when water appears
- Whether draining or spinning completed
- New knocking, grinding, squealing, or scraping
- Repeated imbalance corrections
- A door or lid that will not lock or release normally
- Detergent residue after rinsing
- A change in cycle duration
- A burning, sewer-like, or musty odor
Photographs of leaks and short recordings of unusual sounds can help a service provider, provided recording does not require approaching a moving or unsafe machine.
An error code identifies a detected condition, not necessarily one failed part. Use the exact model documentation before buying components. For brand-specific examples, visit the appliance error-code guides.
Know when maintenance is not enough
Stop using the washer and arrange qualified diagnosis for smoke, sparking, burning odors, damaged wiring, repeated breaker trips, severe movement, a loose drum, a door that appears unsafe, or leakage that cannot be isolated safely.
Also seek service when normal loads repeatedly fail to drain or spin, water continues entering unexpectedly, the machine does not stop as designed, or an internal component must be accessed. Internal electrical testing, drive work, bearing replacement, and structural repairs are not routine homeowner maintenance.
If a leak involves household plumbing, walls, a standpipe, or shutoff valves, an appliance technician may not be the only professional needed. Define the source before authorizing work.
Keep a washer maintenance record
Save the model and serial number, purchase date, manual, warranty documents, installation details, hose inspections, cleaning-cycle dates, detergent notes, error codes, leak photos, repair invoices, and replaced parts.
This history helps distinguish a one-time loading problem from a recurring mechanical issue. It also supports a repair-versus-replacement decision by showing age, condition, prior spending, and whether the same failure has returned. Use the appliance lifespan guide for the broader evaluation.
Final checklist
Consistent washer care is mostly observation and correct use: choose the specified detergent, measure the dose, load the drum correctly, let approved areas dry, clean accessible seals and dispensers, run the model’s cleaning cycle, inspect visible hoses, and respond to leaks or vibration early.
Maintenance cannot guarantee a particular lifespan or prevent every repair. It can reduce avoidable residue and strain, make changes easier to detect, and provide better evidence when professional diagnosis is needed.
Frequently asked questions
Related guides
 Typical dishwasher repair$100–$300
Dishwasher Maintenance Checklist for Cleaner, Longer-Lasting Appliances
Use this dishwasher maintenance checklist for filters, spray arms, seals, drainage, racks, cleaning cycles, warning signs, and model-specific care.
 Typical dryer repair$100–$300
Dryer Vent Maintenance and Warning Signs Every Homeowner Should Know
Learn dryer vent maintenance, restricted-airflow warning signs, lint-screen care, exterior vent checks, duct safety, and when to stop using the dryer.
 Typical oven repair$130–$400
Oven and Range Maintenance Checklist: Cleaning and Safety Tips
Follow an oven and range maintenance checklist for burners, elements, spills, door seals, self-clean cycles, temperature, ventilation, and safety warnings.
Disclaimer: Pricing reflects US national averages as of the publication date and varies by region, brand, and labor rates. This article is informational and does not replace professional inspection or repair advice. See our full disclaimer.